Customer Timeline
Customer Timeline is a function that users can use to add a timeline for specific Customers in the system. Users can also edit, or remove Customer Timelines.
Adding a Customer Timeline
Customer Timelines allow users to enter in detailed shipping and truck schedules by Customer.
To add a Customer Timeline, navigate to the  tab and click on the
 ![]() icon. The
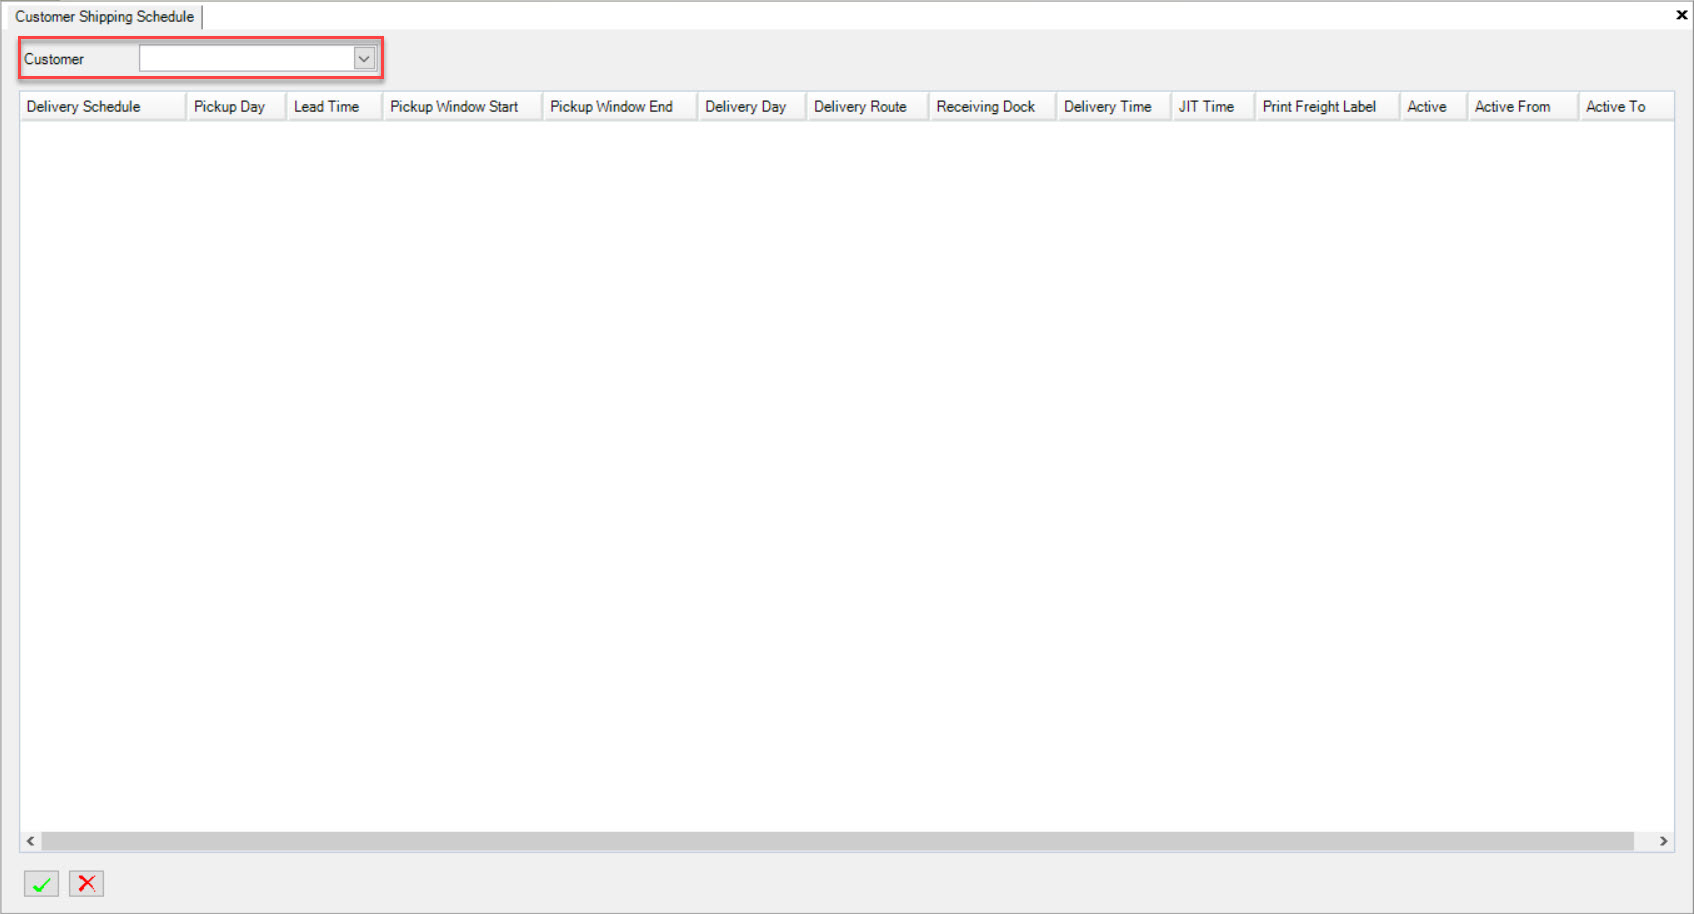
Customer Timeline screen will be displayed.
icon. The
Customer Timeline screen will be displayed.
Use the drop-down menu to search for the Customer you wish to add a Timeline for.

Once you have chosen the Customer, click on the  button located at the bottom of the screen.
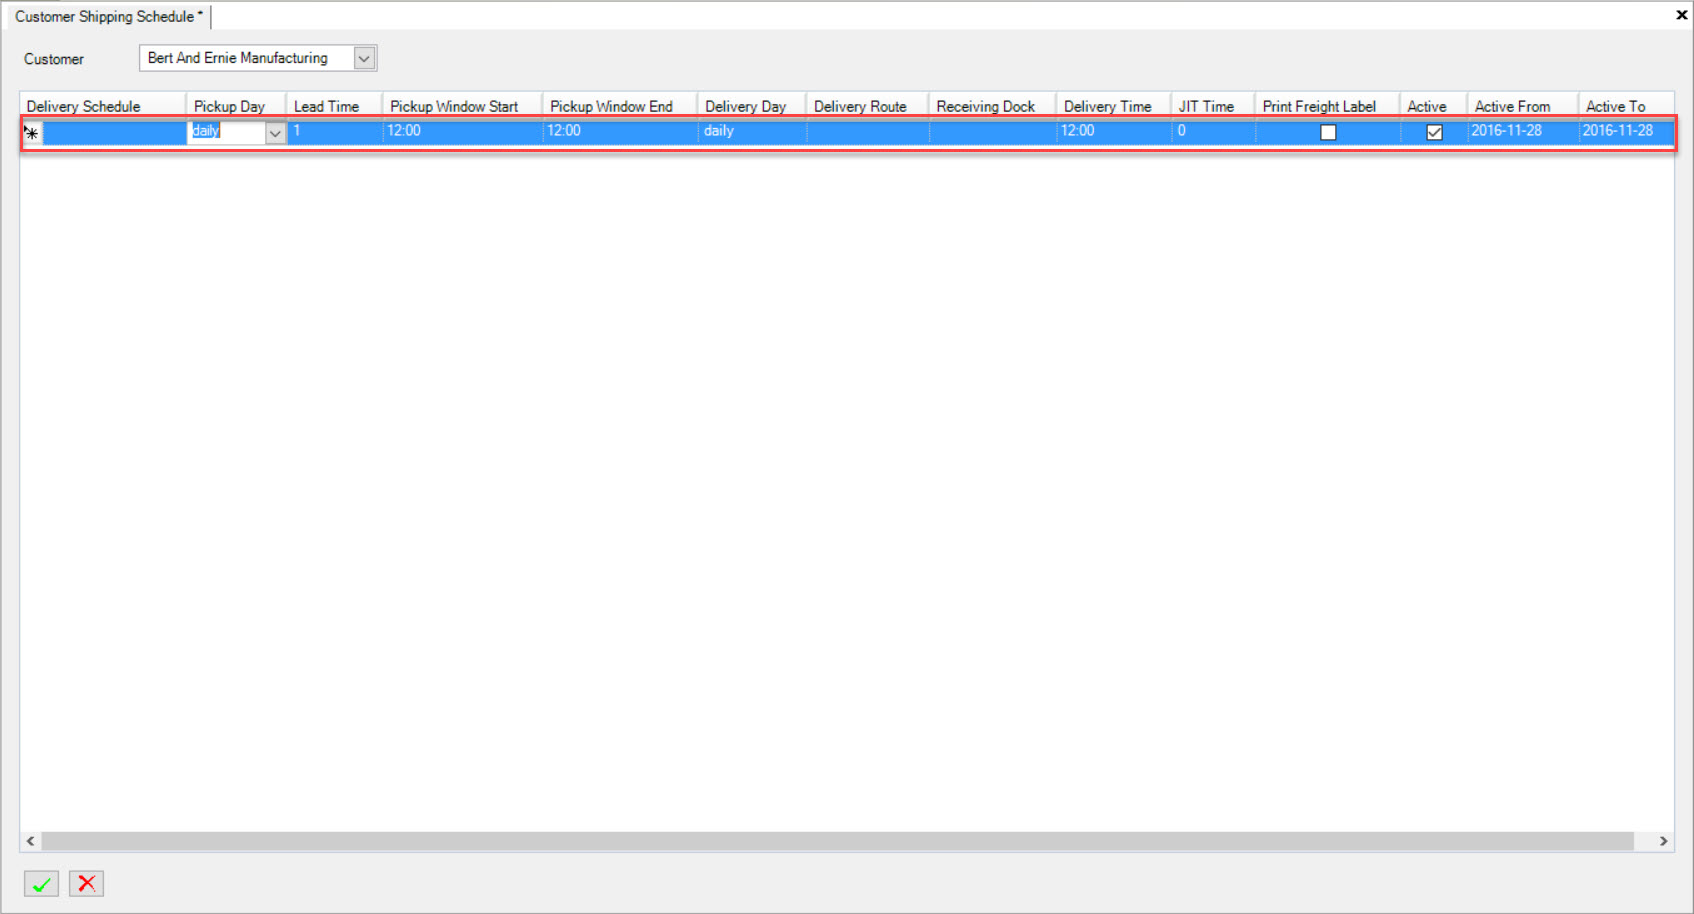
A new row will appear to add a Timeline. Users can fill in the necessary fields such as Delivery Schedule, Pickup Day, Lead Time, Pickup Window Start, and Pickup Window End.

Make sure to save your changes before exiting the screen.
Editing a Customer Timeline
To edit a Customer Timeline, navigate to the  tab and click on the
 ![]() icon. The
Customer Timeline screen will be displayed.
icon. The
Customer Timeline screen will be displayed.
Use the drop-down menu to search for the Customer you wish to edit a Timeline for.

Once you have chosen the Customer, find the Timeline you wish to edit and make the necessary changes.
Make sure to save your changes before exiting the screen.
Removing a Customer Timeline
To remove a Customer Timeline, navigate to the  tab and click on the
 ![]() icon. The
Customer Timeline screen will be displayed.
icon. The
Customer Timeline screen will be displayed.
Use the drop-down menu to search for the Customer you wish to remove a Timeline from.

Once you have chosen the Customer, find the Timeline you wish to remove and highlight the appropriate row.
Click on the  button located at the bottom of the screen. The row will be deleted immediately.
Make sure to save your changes before exiting the screen.